you can cook
  • You Can Cook!
  • About Me
  • Recipe Box
    • Appetizers >
      • Buffalo Chicken Dip
      • Cream Cheese Appetizer
      • Sweet and Salty Nuts
      • Thai Peanut Sauce
    • Beverages >
      • Blueberry Lemonade
      • Cosmopolitan
    • Breakfast >
      • Apple Pancake
      • Homemade Granola
      • Peanut Butter Cup Smoothie
      • Stick-to-your-ribs smoothie
      • Veggie Omelet
      • Yeasted Waffles
    • Main Dishes >
      • Beef Stew
      • Chicken Fajitas
      • Choley
      • Grilled Chicken
      • Low and Slow Chicken Breasts
      • Roast Turkey
      • Rub for Pulled Pork (and other meats too!)
      • Salmon Burgers
      • Simple Homemade Mac & Cheese
      • Simple Red Sauce
      • Steak and Potato Salad
    • Sides >
      • Bacon-Roasted Brussel Sprouts
      • Creamy Polenta
      • Homemade Potato Chips
      • "Magic" Salad Recipe
    • Soup >
      • Apple Cheddar Soup
      • Butternut Squash Soup
      • Chicken Noodle Soup
      • Creamy Tomato Basil Soup
      • Smokey Beef Chili
    • Sweets and Treats >
      • Almond Cake
      • Apple Crisp
      • Bruna Kakor
      • Butterscotch Pecan Sandies
      • Chocolate Fudge Brownies
      • Chocolate Mousse
      • Compost Cookies
      • New York Times Chocolate Chip Cookies
      • Pumpkin Pie
      • Salted Caramel Sauce
  • Classes
  • Contact Me
you can cook

Back Pocket Dessert: Quick, Simple and Tasty

1/4/2016

Comments

 
Picture

​Now that the holiday rush is over and the decorations put away, isn't it wonderful to spend an evening with friends? I mean seriously, what else is there to do this month? You really don't need a reason; last fall, I invited friends over and we shared a bottle of good wine to celebrate one's job loss, another's awful job and the third quitting her job. It was fabulous.

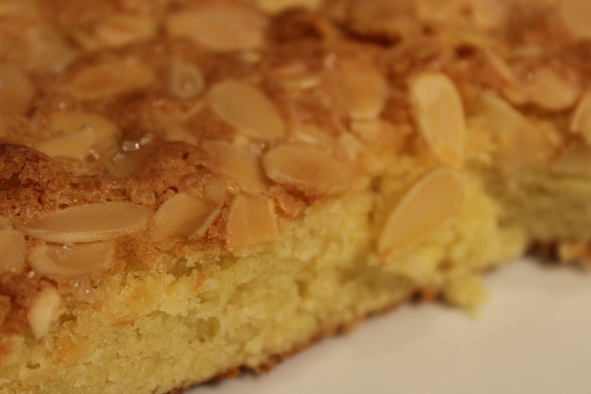
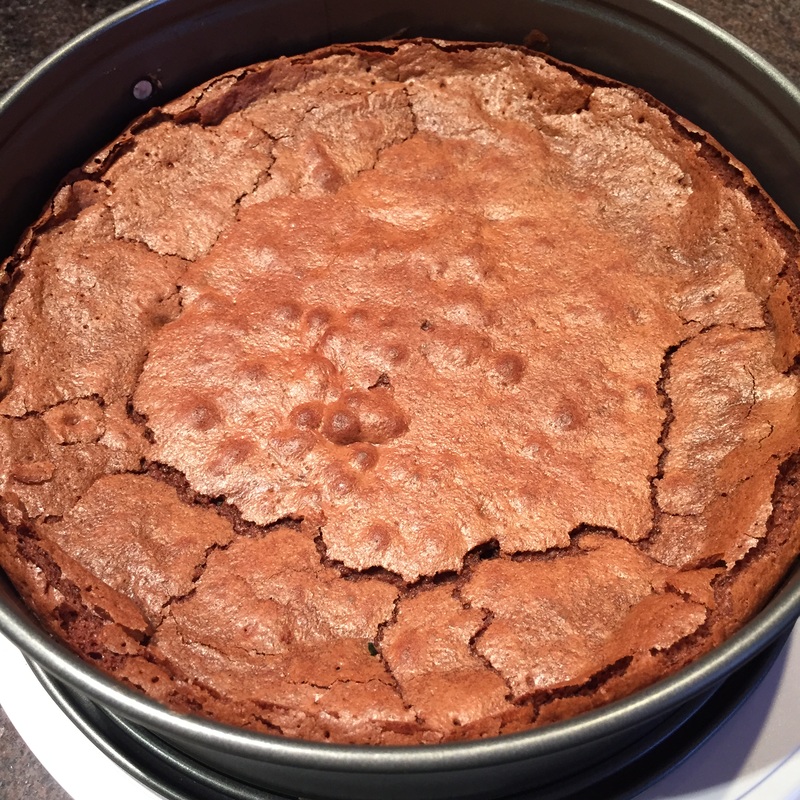
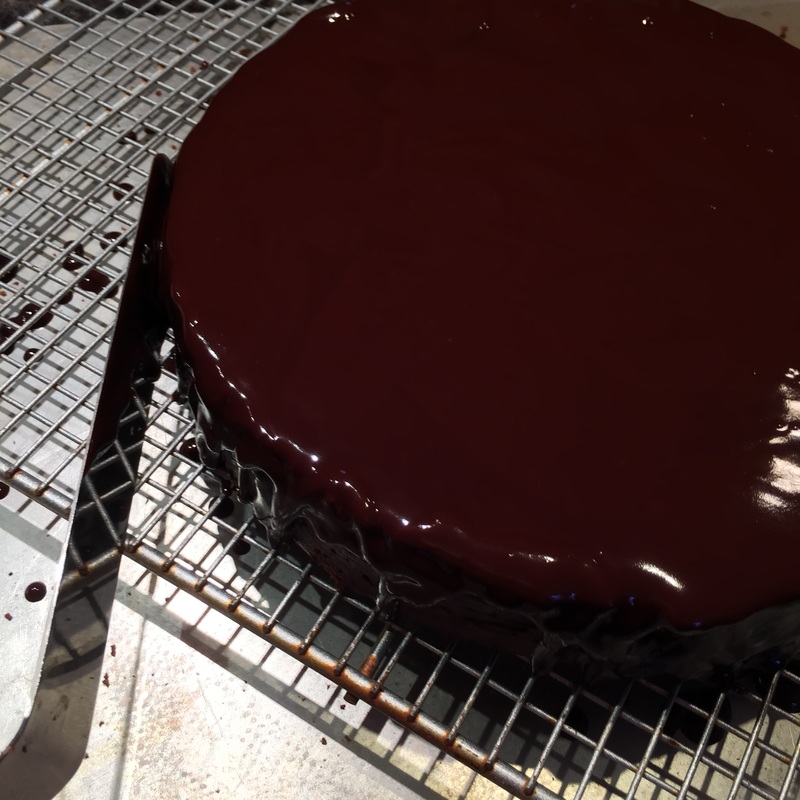
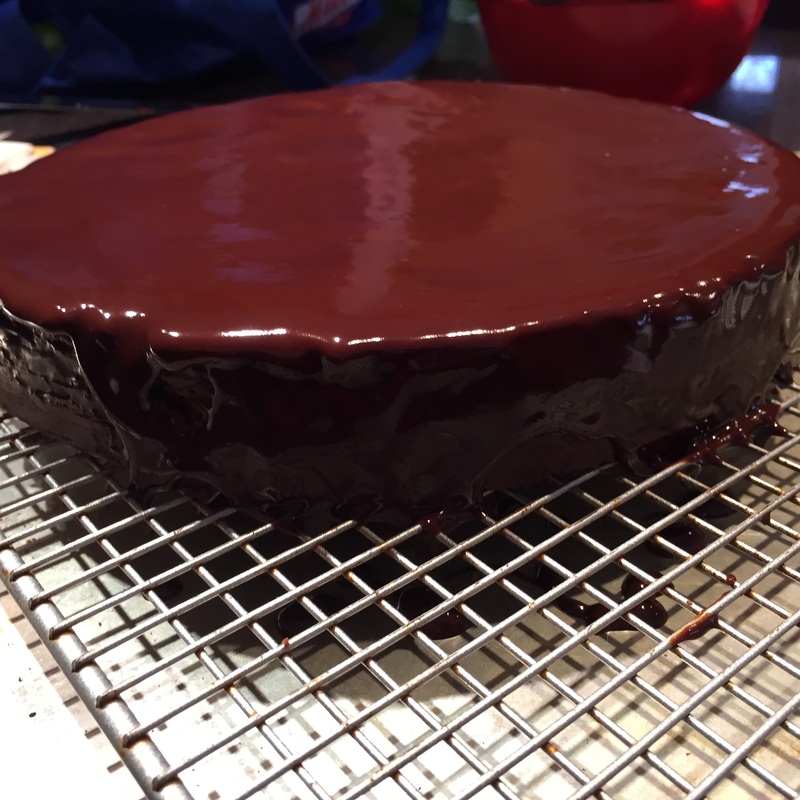
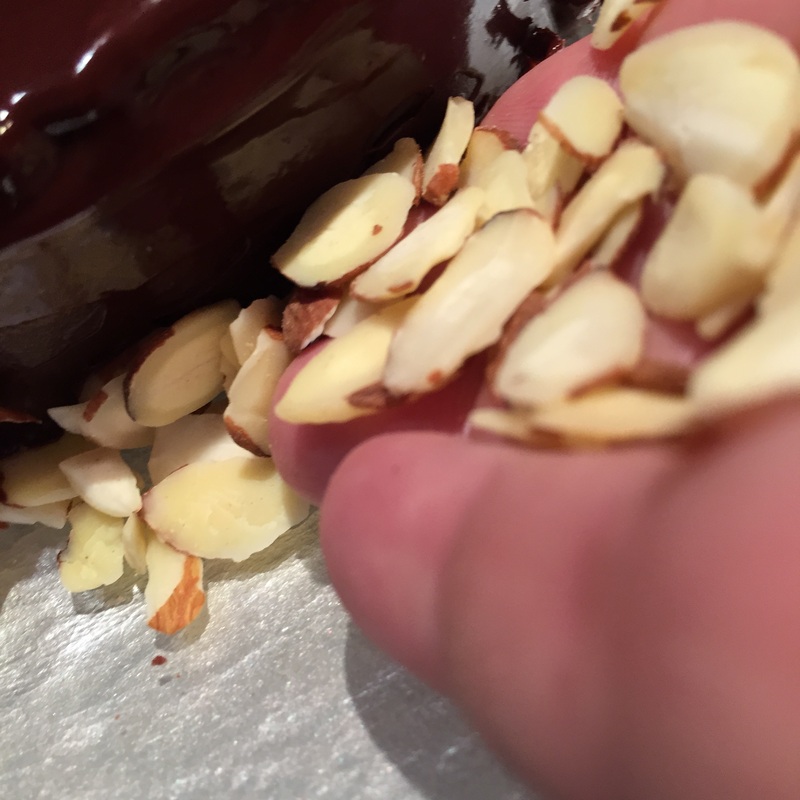
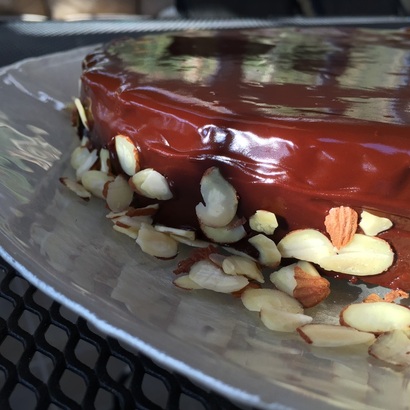
But when such lovely occasions arise, the question - if you're hosting - is what to serve? My main housekeeping strategy is one I call "lowering my standards" (I got this good advice from my mother), but even I need to clean the place when people are showing up, and this all takes time. This is where a "back pocket dessert" really comes in handy. A true back pocket dessert should be able to be produced in 15 minutes or less including hands-on time and cleanup, made with stuff you already have in the house and taste fabulous. Now my staples may be different than yours, but I'd like to share one of my favorites: Almond Cake. This delicious cake has only 7 ingredients: almond flour, butter, eggs, sugar, almonds, almond extract and flour. Obviously this is not good for anyone with a tree nut allergy, but for the rest of us, it's great! The ingredients mix in one bowl, and aside from the chore of cutting a circle of parchment to put in the bottom of your cake pan, the cake is in the oven in about the time it takes to preheat it - and your friends will swoon over this dessert. It tastes like marzipan made into a crispy, buttery cake; you can even add some liqueur or top it with sliced almonds and sugar (as in the photo above) if you want to take it to the next level.

Picture
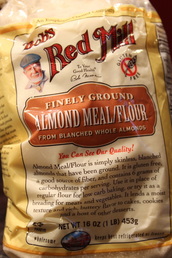
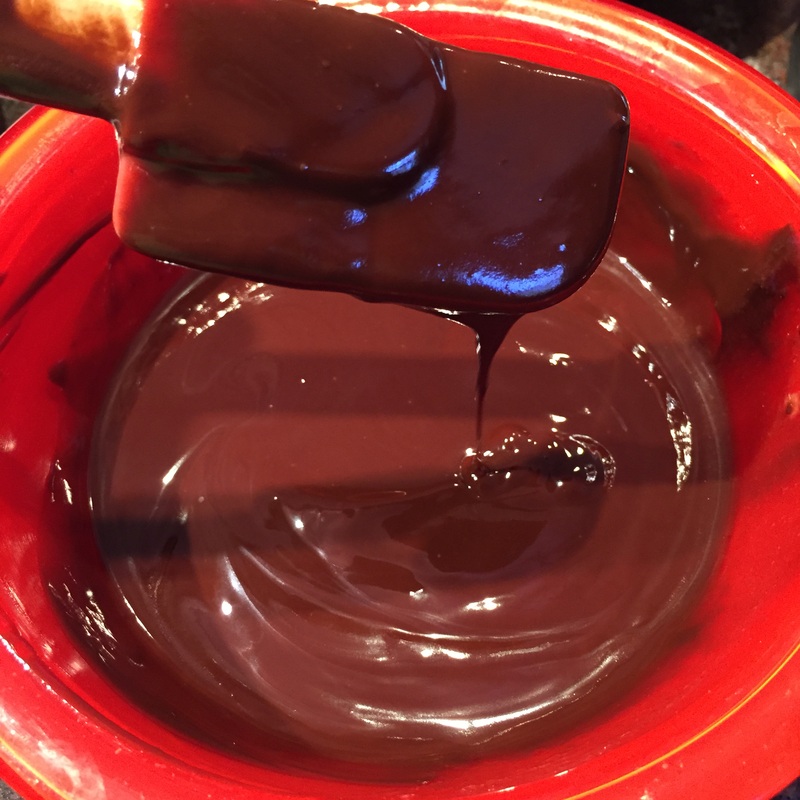
A couple of words about almond flour. This ingredient (I buy the Bob's Red Mill brand at the grocery) is simply ground up nuts, but is the key to several other great recipes including a flourless queen of sheeba torte and french macarons. If you celebrate Passover, this flour will allow you to make amazing flourless desserts for the holiday. Because almond flour is just ground almonds, it's kind of expensive, but you don't use a lot at one time and it keeps for a solid year in the freezer. My only caution is that people who are allergic might not expect ground nuts in a cake or cookies, so make sure you let everyone know. Anaphylactic shock is a terrible way to end a friendly gathering.

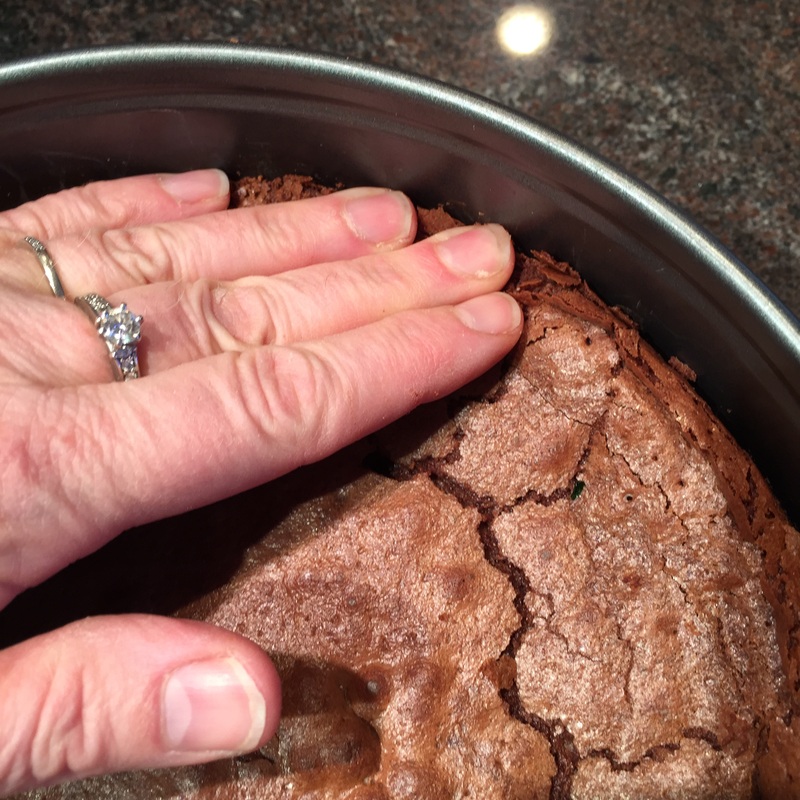
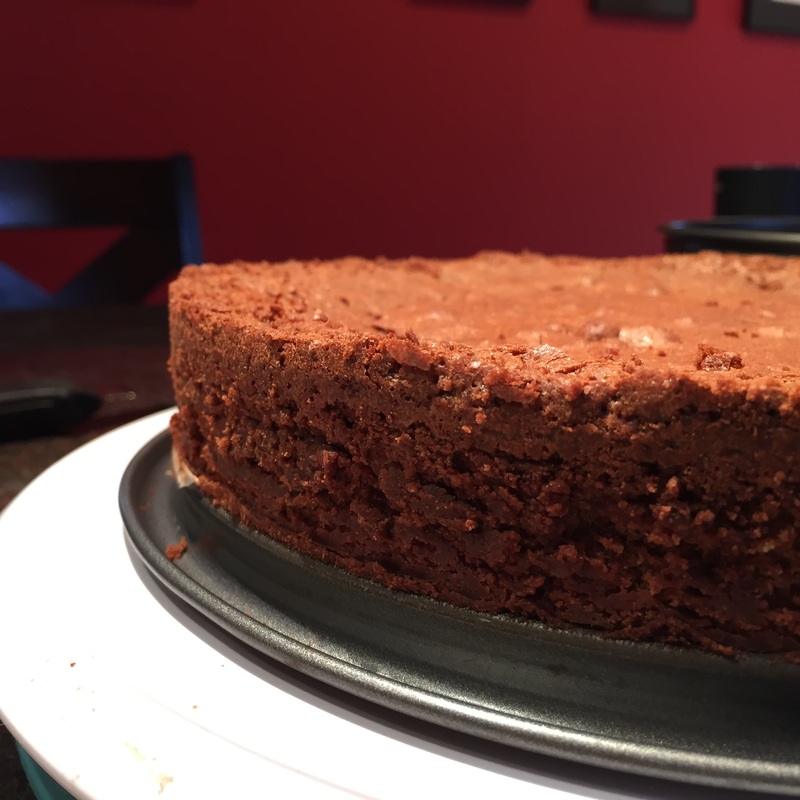
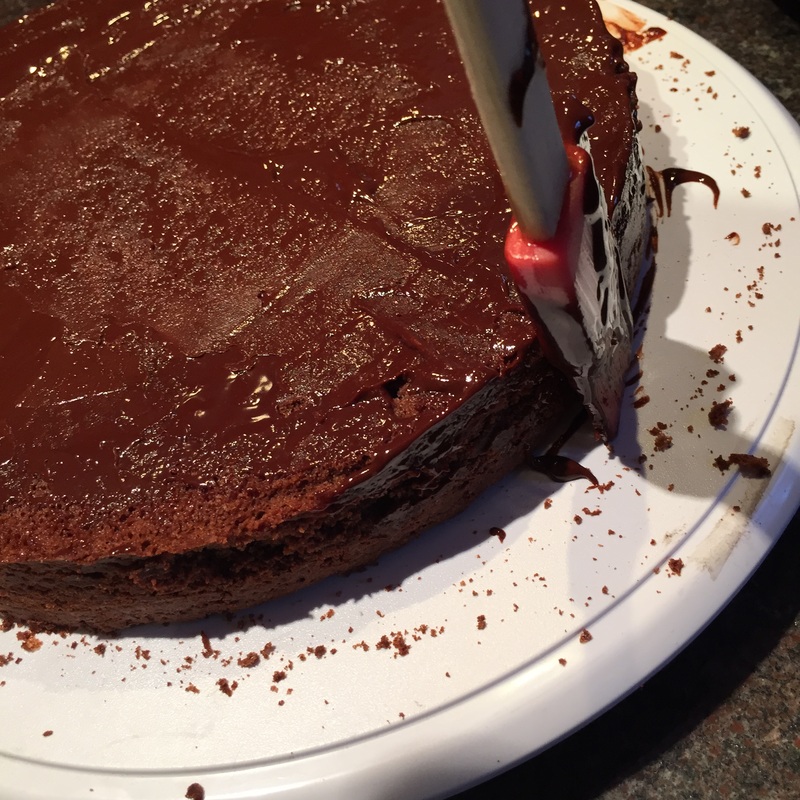
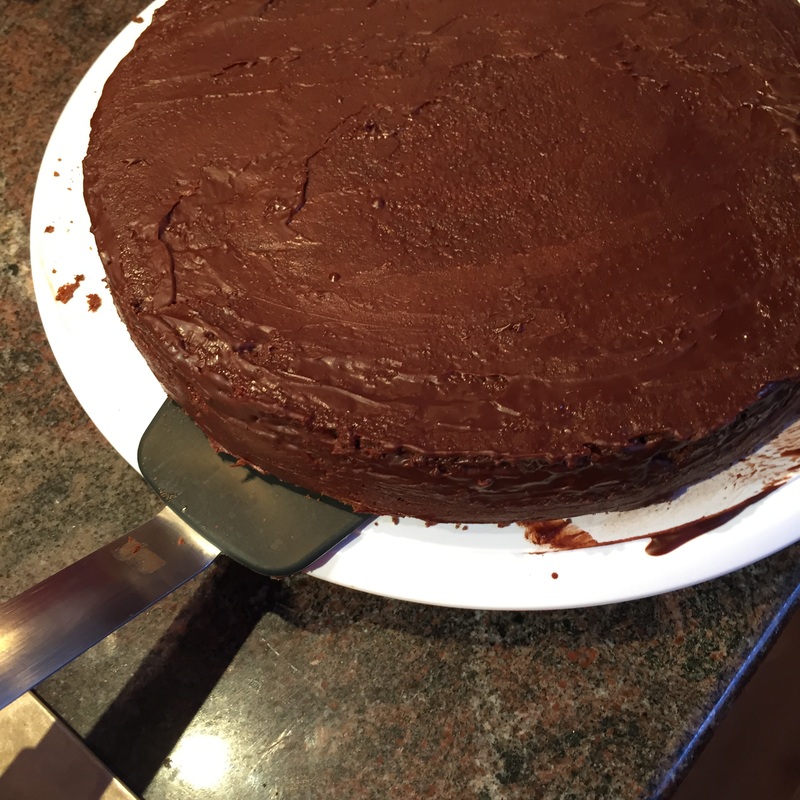
Besides quick preparation time and amazing flavor, another advantage to this back pocket dessert is that it's super portable. Since it's baked and transported in a cake pan, you could just about punt it over a goal post and it would still look and taste great. Several years ago, I brought a torte that I had spent a couple of hours glazing in three colors of chocolate to a holiday party. I had made the torte in a springform pan, removed the rim to glaze the torte and then placed the glazed torte on a plate for transport. I drove to the party with my seat all the way back, the plate with the torte between my legs. Everything was fine until I realized I had almost missed a turn, so I banked the torte with my knees and made a right...but then realized a quick left immediately followed! As the car lurched up the steep driveway, the torte skidded off the plate, flying towards the (vacant) passenger seat. I reached out my hand and palmed it right back onto the plate. After parking the car, I looked down. My hand was clean, but my beautiful, 3-color, watermarked chocolate torte had a giant handprint covering the entire top! I quickly went into the party, and when the hostess asked me what I'd brought, I told her "flying chocolate torte". We still laugh about that, but thankfully once the first couple of pieces were cut, you really couldn't tell. With this almond cake, you turn it out to remove the parchment but can return it to the pan for transport; safe in the pan, it could go to a party under the seat of your car and as long as it didn't get dirty, it would be perfectly good! So ideal.

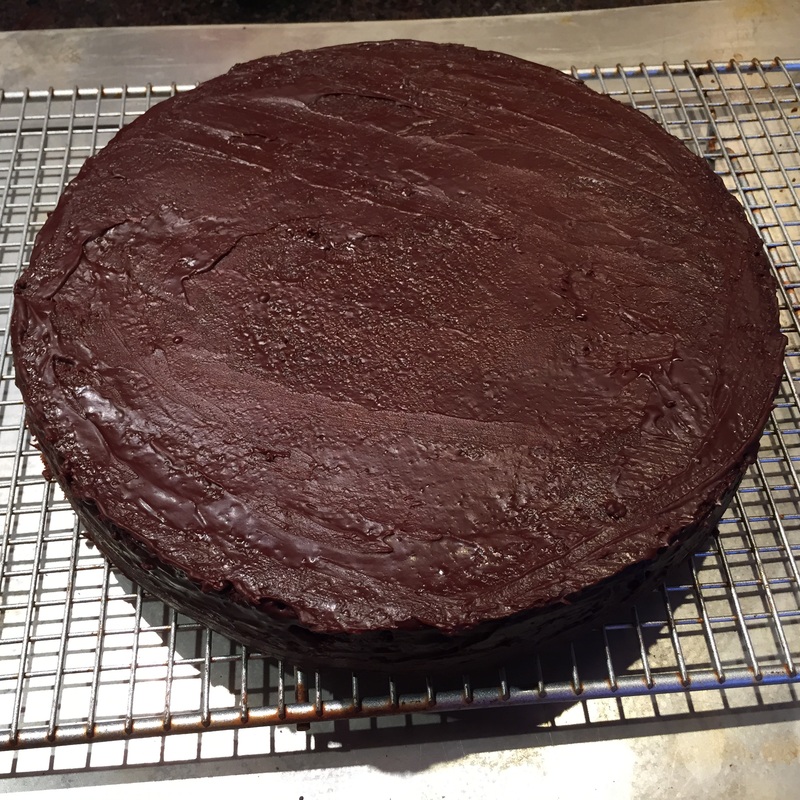
So rather than think too much about the long nights, brutal cold or massive piles of snow, call a couple of friends, give your house a cursory cleaning, and make yourself an almond cake. It goes well with coffee, fresh berries, whipping cream or all three, and is good at any time of day your friends can join you. Please do this; you will have a wonderful time! 

Chris

Comments

Pumpkin Pie: Good, Better and Best!

11/23/2015

Comments

 
Picture
With Thanksgiving on the horizon, I'm thinking about my pies. After all, dessert is my favorite part of the meal, and with a smaller family gathered around our table, I have to be quite choosy; nine guests mean that I can have two pies at most. And one of them MUST be pumpkin.

The "Good" recipe is the one on the back of a can of Libby's pumpkin; you can find it on-line here. If you make it with a pre-rolled crust, it's almost always better than a pie you purchase, in fact, it's quite good! Cool the pie slowly to prevent cracking and once cool, refrigerate for at least 3 hours before serving. 

The "Better" recipe is one that makes a few changes to the recipe above, most notably substituting half-and-half for the evaporated milk but using the same crust. Because it makes a thicker custard than the Libby's recipe, this pie rarely cracks after baking. It is also less bland, with more intense pumpkin and spice flavors. The recipe requires no more time than the Libby's recipe above and has the same number of ingredients. To make the "Better" pie, use a pre-rolled crust and fill it with this pumpkin custard, beginning the recipe at step 5. 

For the "Best" recipe, you will need to make your own piecrust (this King Arthur Flour piecrust is great), and pre-bake ("blind bake") it. I cannot lie, this will take some time, but when you make your own crust, it has a buttery flavor and a lightness that a pre-rolled crust will never achieve. When you blind bake the crust, it becomes crispy under the velvety soft custard. Most pies have a thin, limp bottom crust which is a shame, given that the bottom crust has the same amount of fat and calories as it's delicious top-crust cousin. When you serve this pie, it will come cleanly out of the pie pan and when you cut it with your fork, the crisp bottom crust will flake away. To make the "best" pumpkin pie (pictured above), make your own crust and follow my pumpkin pie recipe. As with all three pies, cool completely and refrigerate at least 3 hours before serving; serve with whipped cream or (if you must) Cool Whip.

When my mother prepared Thanksgiving dinner, it was a big (and stressful) production. I've never really thanked my brother for taking over the preparation of the turkey for her; he had this amazing baste and would cook the turkey on the Weber grill, not only preparing the bird but also creating a lovely outdoor haven where we kids could go and drink beer (Thanks Mark!). Mom really enjoyed putting a homemade pumpkin pie on the table, but for her making homemade crust was a bridge too far. If like Mom, you don't enjoy these adventures in cooking...then don't do it! Thanksgiving is about family and friends; the food is just the vehicle for bringing us all together. We can bond over any of the pies above, a pie from a box, or no pie at all. 

Happy Thanksgiving to you and your family,

Chris

Comments

The Trouble with Turkey...And How To Solve It

11/16/2015

Comments

 
Picture
"Mommy, this white meat's dry."

I was only about 12 years old, but I still remember the look on my mother's face when my 4 year old cousin blurted out those words during a lull in the Thanksgiving dinner conversation. Although I could tell that Mom was extremely unhappy, I knew that my preschool-aged cousin had stated an inconvenient truth: while not quite at the level of a Chevy Chase Christmas Family Vacation turkey, this was one dry bird, and there was not enough gravy in all of Milwaukee to hide that fact.

The first turkey I roasted on my own was for my husband and I. There was a promotion at the grocery: save $200 in receipts, and get a free turkey! Given that there were just two of us, it took a good long time to save those receipts and by the time we were ready to pick up our prize - just days before Thanksgiving - the only turkeys left were 25 pounds and up. At first we were excited by our bargain, but the enormity of the "deal" began to hit when we sat down to eat the roasted bird - just the two of us - and could barely see over the top. Let me say that the bird was not the most moist (probably due to my fears about cooking it completely) and we had a very long, dry winter.

At this time of year, nearly anyone who writes about food has all sorts of tips on how to ensure a moist juicy bird. It's really confusing, and you could find yourself practically making mandalas of turkey feathers on your kitchen floor if you followed them all. I have prayed many times to the moist turkey gods, and decided that I needed instead to hone in on a small number of things that actually matter and move on. So here is my list:

1. Buy a fresh (never frozen) bird.
2. Roast it breast side down for the first 30 minutes.
3. Cook it only until it's done.
4. Don't stuff it (sorry).
5. Let the bird rest for at least 15 minutes before eating.

Buying a fresh bird is easy; it says "never frozen" on the label. And here's another inconvenient truth: since some enormous percentage of turkeys are sold during the last two weeks in November, exactly when do you think the frozen turkeys actually got that way (here's a hint: do you think the turkey industry times their crop so that every turkey is ready to harvest in late October)? Another benefit: fresh turkeys often have far less injected water which not only bulks up frozen turkeys and increases their price but can add an off-putting, chemical taste. I've seen frozen birds that have up to 12% "added juices" - i.e. water, salt and preservatives. Fresh birds, which commonly have 3% or less added juices, can be purchased starting the weekend before Thanksgiving.

Roasting breast side down to start is a little more trouble, but so worth it. Breast meat has much less fat and because it's on top of the bird as it roasts, the juice that it does have drips down onto the thighs. By starting the bird upside down, you reverse this process and by flipping it after 30 minutes, you allow the top of the bird to become brown and crispy, just as if you had cooked it "right side up" the whole time.

This recommendation leads to two questions; first, how am I supposed to know which side is up AND how the heck am I supposed to flip a slippery 450 degree turkey???

The easiest way to tell which side is up is that the tail (a small, hard, diamond-shaped protrusion near the large cavity) is on the bottom. Also, if the bird is right side up, the large cavity would be also to hold stuffing without the stuffing falling out. Thus, if you put the turkey in the roasting pan "upside down" (to start the cooking process), the tail will be on the top and the opening of the large cavity will be less visible. See the pictures and video in the recipe below for more detail.

Flipping a turkey is a bit tougher. For some, the way to go is to make two giant wads of paper towels and use that to grip and flip the slippery bird. Being a bit of a green-freak, I can't bear to waste paper towels this way, so I usually use two clean dishtowels; I also enlist my husband to help me. With two sturdy spatulas and two absorbent cloth towels we can turn the bird over safely and pop it back in the oven. See the video in the recipe below for more detail; unfortunately, our family of three cannot eat two turkeys in two weeks, so I made my video with a chicken (sorry!).

Cooking it until it's done is simple: use a meat thermometer and cook ONLY until the thermometer (pierced into the thickest part of the turkey thigh) reads 165 degrees. See the recipe video for the thermometer placement, and read my post on dry chicken here for more information about thermometers and why they matter. The little plastic thermometers that come in many birds are useless, and I usually remove them before cooking.

I'm sorry to say that while stuffing the bird leads to GREAT tasting stuffing, it leads to not-so-great tasting turkey. The reason is that a stuffed bird takes longer to cook, leaving the outside (especially the breast) meat dry. Stuffing baked in a covered dish, especially made with a bit of turkey or chicken broth, is a tasty alternative that - bonus! - is a lot less hassle than un-stuffing a turkey cavity just as you are trying to serve the entire meal.

Finally, please do let the bird rest; after all, he's had a tough day. Take the turkey out of the oven and put a little sheet of foil on top to keep it cozy (this is often called "tenting") for at least 15 minutes. Believe it or not, scientists have tested this (scientifically!) and found that while the bird is resting, it's lovely juices are being re-absorbed into the cells of the meat, making that turkey all the more delicious when you finally do make the first cut.

Just flipped
Fully Cooked
Under a tent
For an actual recipe with instructions for cooking a turkey, click here.

Years ago, I worked with a strict vegetarian who became a great friend. I once asked her what she ate for Thanksgiving, and she said that with all the sides, Thanksgiving is the best holiday ever for vegetarians! So if worst comes to worst and you accidentally cook a turkey so dry it could be an extra in the next Christmas Family Vacation movie, open more wine, make sure your cat is safely away from your decor, check that no one is smoking stogies near an open sewer and pass the sides. I'm quite confident they will be delicious!
Comments

"It always seems impossible until it's done" --  Nelson Mandela

11/20/2014

Comments


Glazing a Torte

This is the freshly baked torte!
Use your fingers to push down the edges.
Now it's level!
The glaze must be liquid.
Pour on 1/4 of the glaze.
Then spread it thinly over the torte.
Smooth the edges.
Refrigerate until set.
Transfer to a rack.
Pour the rest of the glaze on and smooth only the edges.
Beautiful!
Add nuts to the edges.
Picture
While glazing a torte can in no way be compared to ending Apartheid, I thought that Nelson Mandela's quote was quite apt in this instance.

At a recent class, we were so engaged in making and eating our delicious desserts and dessert sauces, we ran out of time to glaze one of the tortes, a chocolate torte made with almond flour.  So here, in 13 pictures, is how it works.

1.  Start with a fully-baked Queen of Sheeba torte (recipe coming here).

2.  Use your fingers to gently press down the edges of the torte (while it's still in the pan) so it's level across the top.

3.  Remove the outside of the springform pan. See how level it is?  Flip it over and peel off the waxed paper or parchment, and eat the crumbs from the paper.  Delicious!!

4.  Next make your glaze (recipe coming here). It shouldn't be hot, but do you see how liquid it is as it falls from the red spatula?

5.  Pour about 1/4 of the glaze onto your torte.

6 and 7. Use your spatula to spread the glaze all over the torte. It's not meant to look pretty, it just needs to seal in the crumbs. If you need more glaze, use a clean spoon to get it; be careful not to get crumbs in the glaze!  Once it's covered, pop it in the refrigerator for at least 30 minutes to let the glaze set.

8, 9.  Transfer the torte to a wire rack using a large spatula or cake mover. You may need to re-heat your glaze in the microwave (15-30 seconds on 50% power) to make sure it's still nice and liquid (but not hot)

10. Now pour the glaze on the torte, tilting it carefully so the glaze covers the whole top and drips over the edges. Use a clean spatula to apply glaze to the sides as needed; spoon a bit of glaze onto the spatula and then smooth it over the sides, being careful not to touch the top and top edge.

11  When you are finished, it will look like this! You can't see the slightly imperfect sides, but that's OK - we will cover them with toasted almonds. Transfer your torte to your serving dish, using the same large spatula or cake mover that you used to put it on the rack. Use a slightly damp paper towel to remove any chocolate glaze that becomes smeared on the serving dish.

12.  Apply the toasted almonds. Clearly a job best done with two hands, not one hand while the other tries to take a picture. It took me 8 tries just to get this photo, you should see the others!

13. At last, your masterpiece is complete! Store it at room temperature or slightly cooler; if you place it in the refrigerator, the glaze may discolor upon returning to room temperature. Serve with berries or a fruit sauce.  

A 9" torte serves 12-16, and I'm sure every single one of them will enjoy it.
Comments
    Picture

    Author

    Chris, cooking instructor, disability advocate and mom. Food geek and passionate believer in fresh, simple and homemade.

    Enter your email address:

    Delivered by FeedBurner

    Categories

    All
    Best Practices
    Chocolate
    Common Sense
    Cookies
    Cool Tools
    Dessert
    Entertaining
    From The Garden
    Healthy
    Holiday Cooking
    Kitchen Adventures
    Quick
    Snack
    Taste Test!

    RSS Feed

    Archives

    June 2016
    May 2016
    April 2016
    March 2016
    February 2016
    January 2016
    December 2015
    November 2015
    October 2015
    May 2015
    February 2015
    January 2015
    November 2014

    The typeface at the top of this page is Goudy Old Style, the same typeface used in my first copy of The Fanny Farmer Cookbook. My copy is a successor of The Boston Cooking-School Cookbook, first published by Fanny Farmer in 1896. It was one of the first cookbooks to use the standard measures that are common today.