you can cook
  • You Can Cook!
  • About Me
  • Recipe Box
    • Appetizers >
      • Buffalo Chicken Dip
      • Cream Cheese Appetizer
      • Sweet and Salty Nuts
      • Thai Peanut Sauce
    • Beverages >
      • Blueberry Lemonade
      • Cosmopolitan
    • Breakfast >
      • Apple Pancake
      • Homemade Granola
      • Peanut Butter Cup Smoothie
      • Stick-to-your-ribs smoothie
      • Veggie Omelet
      • Yeasted Waffles
    • Main Dishes >
      • Beef Stew
      • Chicken Fajitas
      • Choley
      • Grilled Chicken
      • Low and Slow Chicken Breasts
      • Roast Turkey
      • Rub for Pulled Pork (and other meats too!)
      • Salmon Burgers
      • Simple Homemade Mac & Cheese
      • Simple Red Sauce
      • Steak and Potato Salad
    • Sides >
      • Bacon-Roasted Brussel Sprouts
      • Creamy Polenta
      • Homemade Potato Chips
      • "Magic" Salad Recipe
    • Soup >
      • Apple Cheddar Soup
      • Butternut Squash Soup
      • Chicken Noodle Soup
      • Creamy Tomato Basil Soup
      • Smokey Beef Chili
    • Sweets and Treats >
      • Almond Cake
      • Apple Crisp
      • Bruna Kakor
      • Butterscotch Pecan Sandies
      • Chocolate Fudge Brownies
      • Chocolate Mousse
      • Compost Cookies
      • New York Times Chocolate Chip Cookies
      • Pumpkin Pie
      • Salted Caramel Sauce
  • Classes
  • Contact Me
you can cook

They Really are the Best Chocolate Chip Cookies I've Ever Had

4/13/2016

Comments

 
Picture
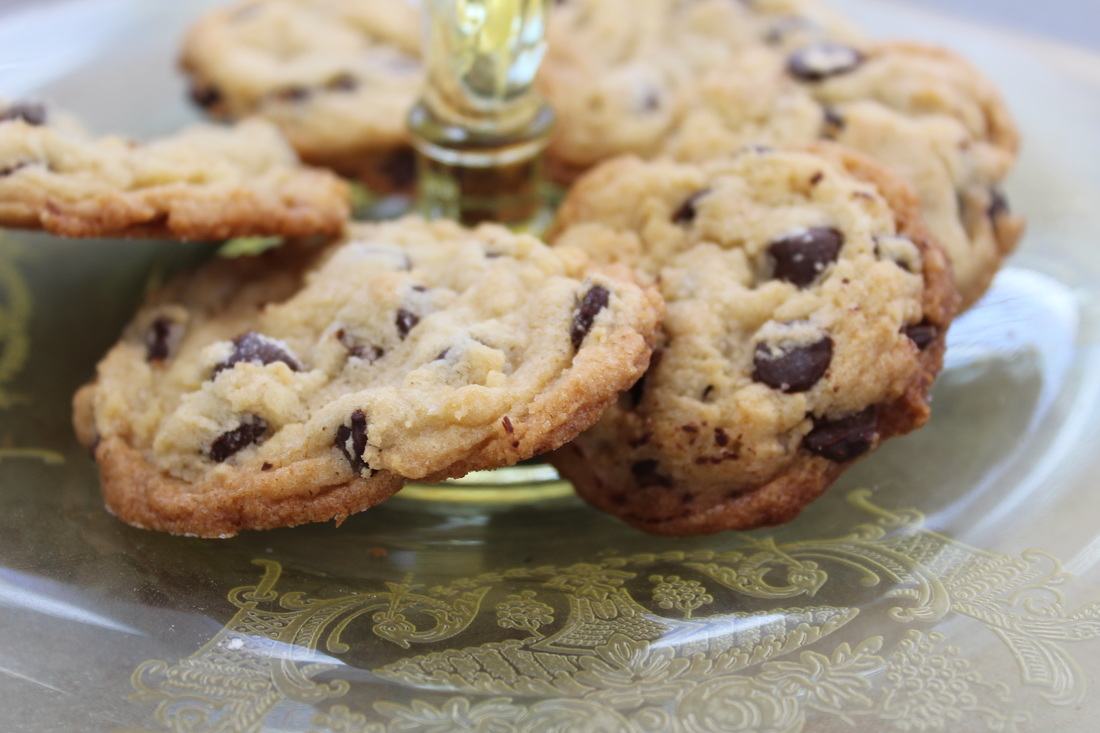
One of the great things about the internet is that you can learn all sorts of interesting new things without ever leaving your desk. For example, you can survey best-chocolate-chip-cookie contests and look for a consistent winner. In this case, the frequent favorite is the New York Times Chocolate Chip Cookie Recipe.

I made a batch yesterday to share with friends, and in that process both determined that they are superior in every way to my prior favorite recipe, and that this fabulous recipe can be adapted to make it a bit simpler to prepare.

The adaptations are just two: first, the recipe calls for cake flour (7-8% protein) and bread flour (14-16% protein) used in equal amounts. The average protein content is thus about 10 - 12%...exactly the same as the all-purpose flour that you probably have in your cupboards and canisters...so use that instead. I have not yet done the side-by-side comparison, but I can assure you that just using regular flour tastes great.

The second adaptation concerns shaping the cookies. Let me be clear: making golf-ball sized scoops out of rock-hard dough was not fun. So for subsequent batches, I scooped the freshly made dough, chilled it and then quickly popped my flat-golf-ball-sized cookie dough balls onto the sheet for baking. Bonus: you can store them in your freezer and quickly whip up a batch for a last-minute treat.

One note about the chocolate. I would love to make these cookies with 1-1/4# (20 oz. or about 3-1/3 cups) of artisinal chocolate disks, but frankly I'm just too lazy to order them on-line or make a pilgrimage to a store that carries them. You can now buy high quality dark chocolate chips by Guittard and other manufacturers at your local Marketbasket or other grocery store; even Nestle's Special Dark chips work well. Of course if you would like to buy several bars of high-end chocolate and chop them for this recipe, you should!

The recipe's measures are shown by both weight and volume, and for this recipe and many others, consider is purchasing a scale. The Escali scale that I use costs just $23.50, and weighs everything from a gram of beads to 5 pounds of bread dough (it may weigh more than 5#, but I've never tried it). One reason to use a scale is that it makes baking really speedy - you pour ingredients into the bowl right from their containers (press and hold the on button to reset the weight or "tare" the scale when adding a new ingredient). It's also much more accurate than volume measurement, and - bonus! - results in fewer dishes. I've had my scale for at least 5 years, and it's still accurate to the gram.

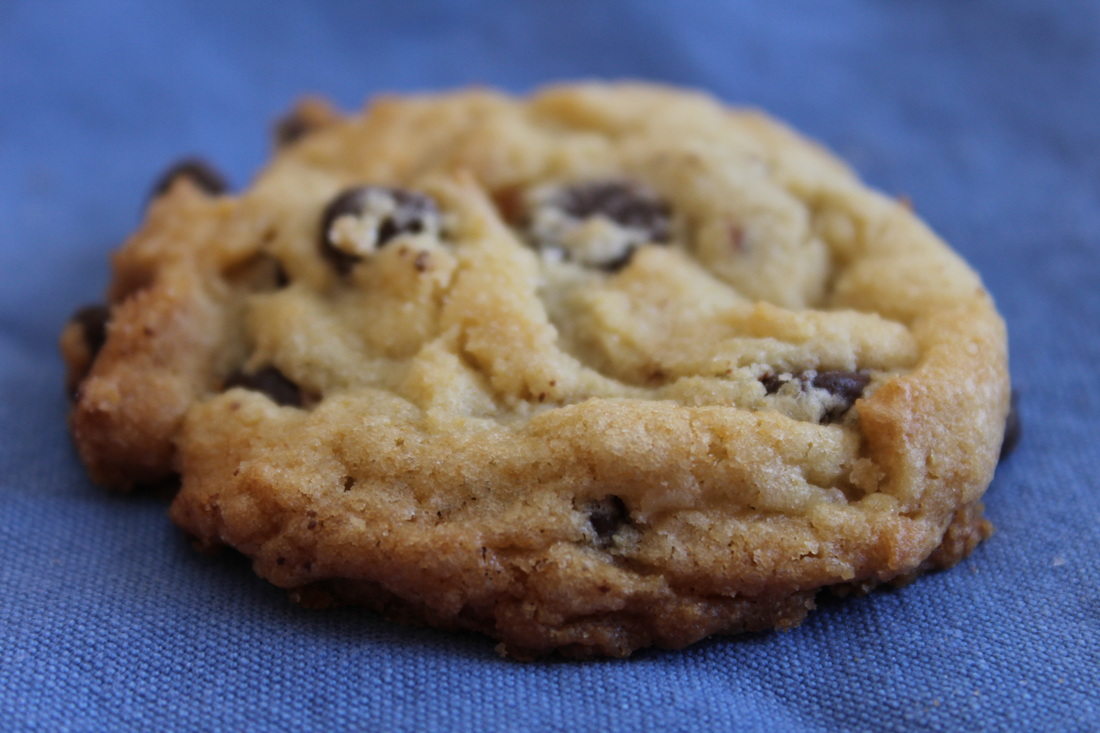
One more thing about this chocolate chip cookie recipe: the dough really does need to chill at least overnight. The chilling period causes the flour to break down slightly into it's component parts (one of which is actually sugar) and the water in the dough to evaporate - both of which lead to a cookie that is crisp on the outside and chewy within; in short, the cookie of your dreams.
Picture
Here is my (adapted) NY Times cookie recipe.

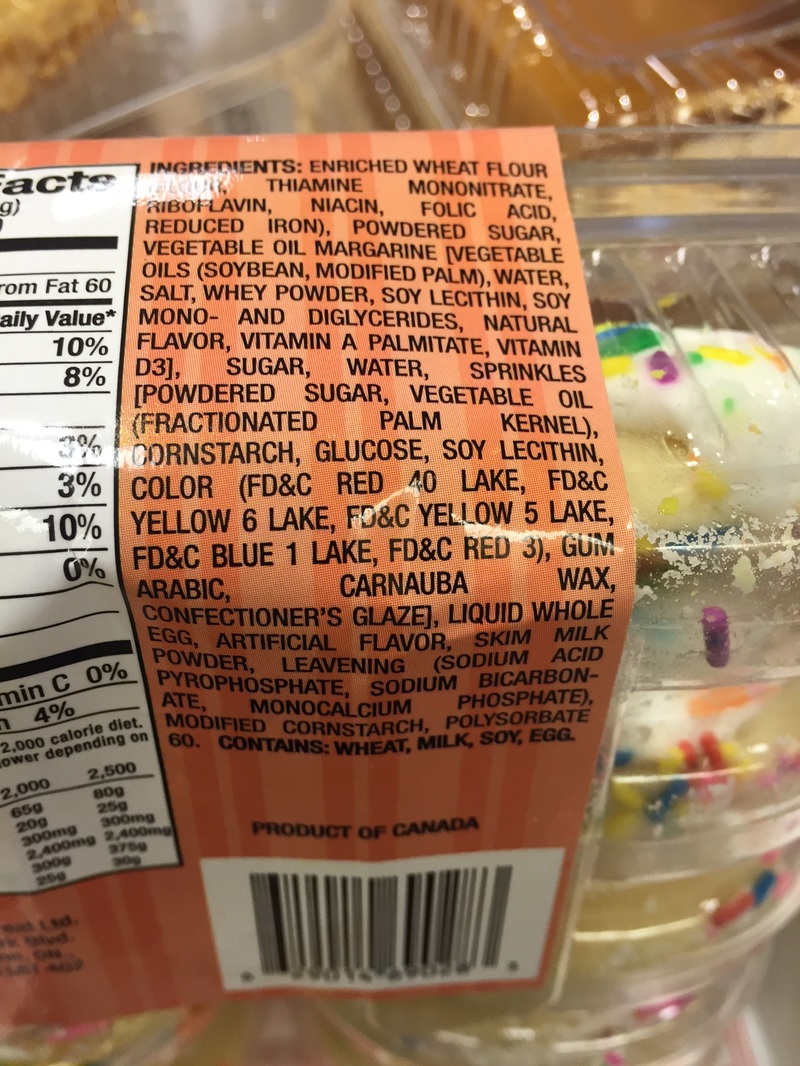
I also want to include a link to the Butter Flavored Crisco chocolate chip cookie recipe. Butter Flavored Crisco has no dairy (surprise!), and so if you substitute almond or soy milk for the 2Tbs of milk and use non dairy chocolate chips, you can have dairy free chocolate chip cookie that is also extremely good. Trader Joe's regular chocolate chips are also non-dairy, but it should be noted are packaged on machines that also package dairy and so are not safe for those with serious dairy allergies.

Even a simple batch of chocolate chip cookies deserve to taste great. If you buy pre-made dough, it will taste a LOT better than Chips Ahoy, and if you make cookies using the Butter Flavored Crisco recipe, they will be a LOT better than the pre-made dough. But to reach the pinnacle of chocolate chip cookie goodness, try the adapted NYTimes Chocolate Chip Cookie recipe - you may never go back.

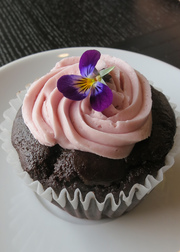
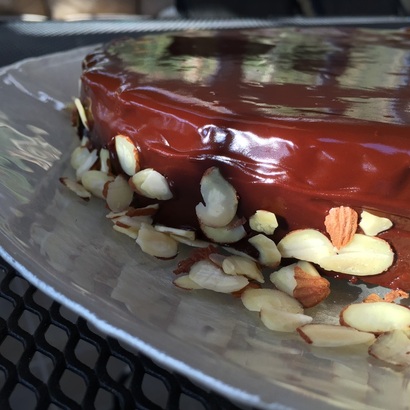
For those interested, the plate in the top photo is indeed depression glass, a gift to my grandmother from my grandfather for their very first Christmas in 1932. Here is the note she sent when she gave me the dish:
Picture
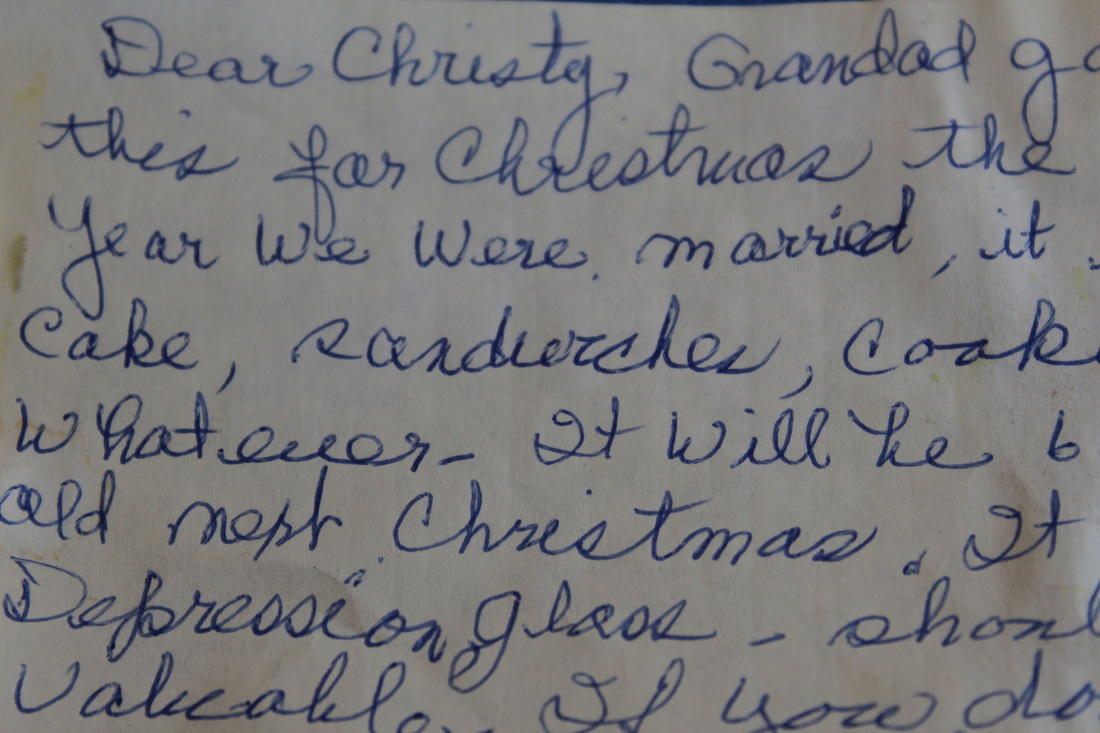
It reads: "Dear Christy, Grandad gave me this for Christmas the very first year we were married, it is for cake, sandwiches, cookies or whatever. It will be 60 years old next Christmas. It is called Depression Glass - should be quite valuable. If you don't have cupboard space, let Peggy (my mother) keep it for you."

My grandmother was a child of the depression, and loved and valued her beautiful things. She passed away in 2007 at age 93, and I miss her still.

​
​​If you would like to see my recipes, tips and adventures in cooking every week go to www.ucancook.net and enter your email on the right side. Alternatively, email me at chrisd.williams@yahoo.com and I will set you up!
Comments

A Tale of Stale

1/27/2016

Comments

 
During a Halloween party several years ago, a lovely friend brought a package of frosted cookies from a local grocery store. They looked delicious, but with a LOT of food on hand, I quickly put them in the cabinet above my refrigerator for "later". For some reason, "later" didn't come until the following August, when I pulled them out while looking for my grandmother's china. It was just before dinner and I was hungry so I did the thing I was told in college chemistry to NEVER do: I tasted the experiment.

That little nibble was actually delicious! So much so that I quickly finished the cookie, and then was horrified by the implications of what I'd done. I waited for a full 24 hours, expecting symptoms like vomiting, stomach pains and shortness of breath...but nothing happened. That cookie was still edible (quite tasty even) nearly 10 months after purchase. In spite of their deliciousness, I quickly disposed of the remaining treats, afraid I might succumb to temptation again.
Picture
Here is a label for cookies very similar to those I so foolishly ate. Not to overstate the obvious, but there are a lot of ingredients listed that you and I don't cook with.

When we make our own desserts, we don't use chemicals that keep our treats fresh for 10+ months, so the desserts need to be made just before we eat them in order to taste great. Preparing a dessert the day before is fine, and for something like a tiramisu or cheesecake where the flavors need to blend, two days before can be even better. But when you make something a week early and "pop it in the freezer" (even homemade ice cream) it will simply not be as good.

I became convinced of this when I took a platter of tiny cupcakes to an event at my church. The cupcakes had been in the freezer for a couple of months, but had been made from scratch and well-wrapped and frozen as soon as they'd cooled. I'd topped them with my daughter's fresh homemade strawberry buttercream, which is a topic for it's own post - it's unbelievably good. But after the event, several of my cupcakes had gone uneaten, and many more were in the trash (most with the buttercream licked off). I might have had a different result had I brushed the tops of the cupcakes with simple syrup before frosting them, but once I tasted the leftovers, I knew: their time in the freezer had left them with an off-putting, stale flavor.

I would hate for anyone to feel bad about taking a homemade dessert to a party or event, but you might consider making a simple dessert rather than concocting something complex in advance and freezing it. Alternatively, prepping the ingredients - toasting the nuts, combining the dry ingredients, etc. in advance will make quick work of the actual recipe when you do make it. Since the cupcake incident, I've learned that freezing leftover cake batter (instead of a baked cake) can work well: seal in a ziploc, squeeze the air out and freeze flat. Once it thaws (about 4 hours at room temperature for sandwich-sized ziplocs), you can clip off one corner of the bag and quickly fill cupcake pans. In the case of my sad little cupcakes, preparing new cupcakes from a boxed cake mix would have also been a substantial improvement.

Here are a few quick and simple desserts:
​Almond Cake (15 minutes plus cooking time)
Apple Crisp (20 minutes, including peeling the apples, plus cooking time)
Chocolate Fudge Brownies (5-10 minutes  plus cooking time, allow 3 hours to chill)
​Chocolate Mousse (10 minutes plus 1 hour to chill)

A plate of fresh-made chocolate chip cookies are always a hit, and will taste amazingly better than purchased cookies or those made from pre-made dough. My favorite recipe uses butter flavored Crisco - hardly a health food - but because the butter-flavored Crisco is actually dairy-free it can be made vegan by using vegan chocolate chips (Trader Joe's chocolate chips for example) and substituting almond milk for the milk. For extra deliciousness, sprinkle each cookie with a pinch of kosher salt before baking.

Dessert has only one purpose: to taste fabulous. If it fails at that one thing, it's not worth eating.

Sweet dreams,

Chris

If you would like to hear about all my recipes, tips and adventures in cooking, go to www.ucancook.net and enter your email on the right side. Alternatively, email me at chrisd.williams@yahoo.com and I will set you up!

Comments

Back Pocket Dessert: Quick, Simple and Tasty

1/4/2016

Comments

 
Picture

​Now that the holiday rush is over and the decorations put away, isn't it wonderful to spend an evening with friends? I mean seriously, what else is there to do this month? You really don't need a reason; last fall, I invited friends over and we shared a bottle of good wine to celebrate one's job loss, another's awful job and the third quitting her job. It was fabulous.

But when such lovely occasions arise, the question - if you're hosting - is what to serve? My main housekeeping strategy is one I call "lowering my standards" (I got this good advice from my mother), but even I need to clean the place when people are showing up, and this all takes time. This is where a "back pocket dessert" really comes in handy. A true back pocket dessert should be able to be produced in 15 minutes or less including hands-on time and cleanup, made with stuff you already have in the house and taste fabulous. Now my staples may be different than yours, but I'd like to share one of my favorites: Almond Cake. This delicious cake has only 7 ingredients: almond flour, butter, eggs, sugar, almonds, almond extract and flour. Obviously this is not good for anyone with a tree nut allergy, but for the rest of us, it's great! The ingredients mix in one bowl, and aside from the chore of cutting a circle of parchment to put in the bottom of your cake pan, the cake is in the oven in about the time it takes to preheat it - and your friends will swoon over this dessert. It tastes like marzipan made into a crispy, buttery cake; you can even add some liqueur or top it with sliced almonds and sugar (as in the photo above) if you want to take it to the next level.

Picture
A couple of words about almond flour. This ingredient (I buy the Bob's Red Mill brand at the grocery) is simply ground up nuts, but is the key to several other great recipes including a flourless queen of sheeba torte and french macarons. If you celebrate Passover, this flour will allow you to make amazing flourless desserts for the holiday. Because almond flour is just ground almonds, it's kind of expensive, but you don't use a lot at one time and it keeps for a solid year in the freezer. My only caution is that people who are allergic might not expect ground nuts in a cake or cookies, so make sure you let everyone know. Anaphylactic shock is a terrible way to end a friendly gathering.

Besides quick preparation time and amazing flavor, another advantage to this back pocket dessert is that it's super portable. Since it's baked and transported in a cake pan, you could just about punt it over a goal post and it would still look and taste great. Several years ago, I brought a torte that I had spent a couple of hours glazing in three colors of chocolate to a holiday party. I had made the torte in a springform pan, removed the rim to glaze the torte and then placed the glazed torte on a plate for transport. I drove to the party with my seat all the way back, the plate with the torte between my legs. Everything was fine until I realized I had almost missed a turn, so I banked the torte with my knees and made a right...but then realized a quick left immediately followed! As the car lurched up the steep driveway, the torte skidded off the plate, flying towards the (vacant) passenger seat. I reached out my hand and palmed it right back onto the plate. After parking the car, I looked down. My hand was clean, but my beautiful, 3-color, watermarked chocolate torte had a giant handprint covering the entire top! I quickly went into the party, and when the hostess asked me what I'd brought, I told her "flying chocolate torte". We still laugh about that, but thankfully once the first couple of pieces were cut, you really couldn't tell. With this almond cake, you turn it out to remove the parchment but can return it to the pan for transport; safe in the pan, it could go to a party under the seat of your car and as long as it didn't get dirty, it would be perfectly good! So ideal.

So rather than think too much about the long nights, brutal cold or massive piles of snow, call a couple of friends, give your house a cursory cleaning, and make yourself an almond cake. It goes well with coffee, fresh berries, whipping cream or all three, and is good at any time of day your friends can join you. Please do this; you will have a wonderful time! 

Chris

Comments

Caramel Sauce: The Quest

12/1/2015

Comments

 
Picture
Have you ever embarked on a quest? A plan to do something amazing and remarkable? Something that could change the world? Anyone who has ever watched the Princess Bride (and if you haven't, you should), knows the power and worth of a quest.

My quest, began in 2007, was to make the perfect caramel sauce. I had tasted the delights of such a sauce at an upscale restaurant, and knew that I had to learn to create my own. This quest led me through at least 20 recipes, several pieces of special equipment, countless 10 pound bags of sugar, and a considerable number of scorched, grainy or runny failures.

The plot thickened in 2008 during the financial crisis. I was testing investment strategies, and with the market swinging wildly, sometimes the best thing to do with a position was to "SOH", or sit on hands. For me, the best way to get away from the crazy market volatility was to make caramel sauce. I made vats of caramel sauce between September 2008 and April 2009. We had ice cream every night, brownies infused with the stuff, ate it with apples and pretzels, stirred it into our coffee and gave it away as Christmas, hostess and teacher gifts. I never let my supplies of sugar, butter and cream run out and bought mason jars almost every week. My quest had become an obsession.

With all of this making of caramel sauce however came a true mastery of the craft that I'd like to share. There are so many uses of caramel sauce (see above), and it really is amazingly better than even a good quality jar like Mrs. Richardsons (do NOT pop the lid on the Kraft version - you won't want to anyway when you read the list of ingredients). It's true that butter, sugar and cream are not healthy foods, BUT if you chose to eat unhealthy food every so often - and we all should occasionally - shouldn't it be the best-tasting, freshest unhealthy food possible?

A few more things about caramel sauce: it's fast, it's simple, and there are no special tools other than a heavy-bottomed pot and your own good common sense. It takes only 4 ingredients and keeps (refrigerated) for three months. Doesn't that sound like a recipe you should have in your back pocket?

My recipe for salted caramel sauce (including a video of the preparation) is in the recipe box.

Sweet dreams,

​Chris
Comments

Pumpkin Pie: Good, Better and Best!

11/23/2015

Comments

 
Picture
With Thanksgiving on the horizon, I'm thinking about my pies. After all, dessert is my favorite part of the meal, and with a smaller family gathered around our table, I have to be quite choosy; nine guests mean that I can have two pies at most. And one of them MUST be pumpkin.

The "Good" recipe is the one on the back of a can of Libby's pumpkin; you can find it on-line here. If you make it with a pre-rolled crust, it's almost always better than a pie you purchase, in fact, it's quite good! Cool the pie slowly to prevent cracking and once cool, refrigerate for at least 3 hours before serving. 

The "Better" recipe is one that makes a few changes to the recipe above, most notably substituting half-and-half for the evaporated milk but using the same crust. Because it makes a thicker custard than the Libby's recipe, this pie rarely cracks after baking. It is also less bland, with more intense pumpkin and spice flavors. The recipe requires no more time than the Libby's recipe above and has the same number of ingredients. To make the "Better" pie, use a pre-rolled crust and fill it with this pumpkin custard, beginning the recipe at step 5. 

For the "Best" recipe, you will need to make your own piecrust (this King Arthur Flour piecrust is great), and pre-bake ("blind bake") it. I cannot lie, this will take some time, but when you make your own crust, it has a buttery flavor and a lightness that a pre-rolled crust will never achieve. When you blind bake the crust, it becomes crispy under the velvety soft custard. Most pies have a thin, limp bottom crust which is a shame, given that the bottom crust has the same amount of fat and calories as it's delicious top-crust cousin. When you serve this pie, it will come cleanly out of the pie pan and when you cut it with your fork, the crisp bottom crust will flake away. To make the "best" pumpkin pie (pictured above), make your own crust and follow my pumpkin pie recipe. As with all three pies, cool completely and refrigerate at least 3 hours before serving; serve with whipped cream or (if you must) Cool Whip.

When my mother prepared Thanksgiving dinner, it was a big (and stressful) production. I've never really thanked my brother for taking over the preparation of the turkey for her; he had this amazing baste and would cook the turkey on the Weber grill, not only preparing the bird but also creating a lovely outdoor haven where we kids could go and drink beer (Thanks Mark!). Mom really enjoyed putting a homemade pumpkin pie on the table, but for her making homemade crust was a bridge too far. If like Mom, you don't enjoy these adventures in cooking...then don't do it! Thanksgiving is about family and friends; the food is just the vehicle for bringing us all together. We can bond over any of the pies above, a pie from a box, or no pie at all. 

Happy Thanksgiving to you and your family,

Chris

Comments

These are a few of my favorite (cookie) things

10/22/2015

Comments

 
Picture
My Grandma Conn was a bundle of energy; my brothers and I nicknamed her "Hyper Harriet". She had a long and healthy life, living to age 94, married 67 years and always surrounded by friends. One of those friends, a German woman named Hulda, gave my grandma one of my favorite cookie recipes: Bruna Kakor. They are a deceptively simple sugar cookie, and since they are patted into large rectangles and sliced into strips after baking, simple to prepare as well. When I serve them at parties, people don't tend to immediately gravitate to them - they are not flashy, they have no frosting or sprinkles - but once tasted, the plate quickly empties. You can find the recipe for Bruna Kakor here.

There is no special story about another favorite cookie of mine: I found it on the back of a package of butterscotch chips. With all the nut allergies out there, nut cookies have fallen out of favor, but when I serve this recipe to my pecan-eating friends, they fall in love just like I did. I must credit Guittard with coming up with this delicious flavor combination! The recipe is here.

Brownies are one of the simplest treats to make, and one of the recipes we prepare in my beginner classes. A few years ago, I ran a brownie taste-test at my husband's office, baking three pans of brownies: Pillsbury, Ghirardelli and homemade (adding chips to the Pillsbury recipe so all would be the same). When I called my husband at work to see how the taste test was going, he sent me a photo. The Pillsbury pan was barely touched, the Ghirardelli pan was about half-eaten and only a couple of crumbs were left of the homemade. When the votes were counted later, over 75% voted the homemade best, with most of the remaining votes for the Ghiradelli and one lone vote for Pillisbury. It's worth noting that the homemade brownies can be prepared in one bowl (just like the box), have only three more ingredients than the box and might take 3-4 minutes longer. There are probably fancier homemade brownie recipes out there, but for simple chocolate fudge goodness, this one is wonderful, and the recipe is here. One note, because they have so much butter, they are not a good choice for outdoor summer gatherings. Chill before slicing.

Finally, I just recently came upon a recipe for "Compost Cookies". I'm not sure if the name comes from the large and strange list of ingredients, or from the ground coffee that gives them a compost-like look, but they are incredibly tasty. Developed by the Momofuku restaurant in New York and adapted from the blog Table for Two, you can try the recipe here.

Everyone loves a sweet treat now and then; the next time you "need" a batch of cookies, why not try something new?
Comments

"It always seems impossible until it's done" --  Nelson Mandela

11/20/2014

Comments


Glazing a Torte

This is the freshly baked torte!
Use your fingers to push down the edges.
Now it's level!
The glaze must be liquid.
Pour on 1/4 of the glaze.
Then spread it thinly over the torte.
Smooth the edges.
Refrigerate until set.
Transfer to a rack.
Pour the rest of the glaze on and smooth only the edges.
Beautiful!
Add nuts to the edges.
Picture
While glazing a torte can in no way be compared to ending Apartheid, I thought that Nelson Mandela's quote was quite apt in this instance.

At a recent class, we were so engaged in making and eating our delicious desserts and dessert sauces, we ran out of time to glaze one of the tortes, a chocolate torte made with almond flour.  So here, in 13 pictures, is how it works.

1.  Start with a fully-baked Queen of Sheeba torte (recipe coming here).

2.  Use your fingers to gently press down the edges of the torte (while it's still in the pan) so it's level across the top.

3.  Remove the outside of the springform pan. See how level it is?  Flip it over and peel off the waxed paper or parchment, and eat the crumbs from the paper.  Delicious!!

4.  Next make your glaze (recipe coming here). It shouldn't be hot, but do you see how liquid it is as it falls from the red spatula?

5.  Pour about 1/4 of the glaze onto your torte.

6 and 7. Use your spatula to spread the glaze all over the torte. It's not meant to look pretty, it just needs to seal in the crumbs. If you need more glaze, use a clean spoon to get it; be careful not to get crumbs in the glaze!  Once it's covered, pop it in the refrigerator for at least 30 minutes to let the glaze set.

8, 9.  Transfer the torte to a wire rack using a large spatula or cake mover. You may need to re-heat your glaze in the microwave (15-30 seconds on 50% power) to make sure it's still nice and liquid (but not hot)

10. Now pour the glaze on the torte, tilting it carefully so the glaze covers the whole top and drips over the edges. Use a clean spatula to apply glaze to the sides as needed; spoon a bit of glaze onto the spatula and then smooth it over the sides, being careful not to touch the top and top edge.

11  When you are finished, it will look like this! You can't see the slightly imperfect sides, but that's OK - we will cover them with toasted almonds. Transfer your torte to your serving dish, using the same large spatula or cake mover that you used to put it on the rack. Use a slightly damp paper towel to remove any chocolate glaze that becomes smeared on the serving dish.

12.  Apply the toasted almonds. Clearly a job best done with two hands, not one hand while the other tries to take a picture. It took me 8 tries just to get this photo, you should see the others!

13. At last, your masterpiece is complete! Store it at room temperature or slightly cooler; if you place it in the refrigerator, the glaze may discolor upon returning to room temperature. Serve with berries or a fruit sauce.  

A 9" torte serves 12-16, and I'm sure every single one of them will enjoy it.
Comments

Amazing...Chocolate Mousse

11/11/2014

Comments

 
Picture
Just three ingredients will make the best mousse you will ever eat.

It's true:  all you need are 9 ounces (by weight) of chocolate, 5 tablespoons of liquid and 1-1/2 cups of cream. 

That's it.  No gelatin.  No powdered mix.  No eggs.  In fact in it's simplest form, the liquid is just water.

Since you only have three ingredients, choose them with care.  For the chocolate, chose milk, dark, or bittersweet sold in bar form.  No chips, no "candy coating" and nothing molded into shapes.  It's all about the flavor.  Chop your delicious chocolate into chip-sized pieces, and place in a microwave-safe bowl.

For the liquid, chose up to 3 tablespoons of liqueur such as Grand Marnier, Amaretto, Rum, Framboise or Frangelico, and add water to make up 5 tablespoons total liquid.  You can also use strong coffee for your liquid.  Pour the liquid over the chocolate.  I know we are breaking some rules here, but trust me on this.

Put the bowl in the microwave, and cook for 2 minutes on 50% power for dark and milk chocolate, and 20% power for white.  Once heated, stir gently until smooth.  Set aside until a small dab on your upper lip feels cool to the touch.

Measure 1-1/2 cups of the best heavy cream you can find.  It must say "Heavy Cream" on the carton. Don't even THINK of using half and half, creamer or <shudder> Cool Whip.  It's not like you eat this stuff every day, so get the real thing!

Pour the cold heavy cream into a large mixing bowl and put the whisk attachment on your mixer. Beat at high speed until soft peaks form.  A "soft peak" means that when you pull the whisk attachment out of the heavy cream, it will leave behind a pointed whipped cream peak which will then droop over slightly.

Once the cream is whipped, use a silicone spatula to gently fold the chocolate mixture into the cream and put immediately in a serving bowl or smaller bowls for individual servings.  Refrigerate for 2-3 hours before serving.  Excellent with fresh fruit or a very thin cookie.

Comments
    Picture

    Author

    Chris, cooking instructor, disability advocate and mom. Food geek and passionate believer in fresh, simple and homemade.

    Enter your email address:

    Delivered by FeedBurner

    Categories

    All
    Best Practices
    Chocolate
    Common Sense
    Cookies
    Cool Tools
    Dessert
    Entertaining
    From The Garden
    Healthy
    Holiday Cooking
    Kitchen Adventures
    Quick
    Snack
    Taste Test!

    RSS Feed

    Archives

    June 2016
    May 2016
    April 2016
    March 2016
    February 2016
    January 2016
    December 2015
    November 2015
    October 2015
    May 2015
    February 2015
    January 2015
    November 2014

    The typeface at the top of this page is Goudy Old Style, the same typeface used in my first copy of The Fanny Farmer Cookbook. My copy is a successor of The Boston Cooking-School Cookbook, first published by Fanny Farmer in 1896. It was one of the first cookbooks to use the standard measures that are common today.