
Today's cold weather in Boston calls for a night by the fire at home - and some good snacks. The problem is, most of the snacks that come from a box - even the "healthy" ones - are full of preservatives, stabilizers and other things we don't really want to eat. Sometimes, it's fun to go all out, for example making homemade potato chips. But other times, you just want a quick snack. If you've grown tired of apples or bananas and peanut butter, here are two quick suggestions.
If you were a kid before about 1980, do you remember eating popcorn from a pan?
Do you remember how delicious it tasted? How fresh and crispy? How the salt would cling to each delicious kernel?
I'd like to challenge you to re-create that taste. It's simple, cheap and if you follow my instructions you will NOT crack your teeth on raw kernels OR have to scrub blackened popcorn from the bottom of your favorite pan.
You need only three things: a 3 quart pot with a lid, 3 Tbs. of oil and 1/3 cup of fresh popcorn. And here's a tip: you don't have to magically intuit the size of your pot; if you look on the bottom of the outside of the pot; almost every one will have a small imprint which includes the size of the pan - who knew?
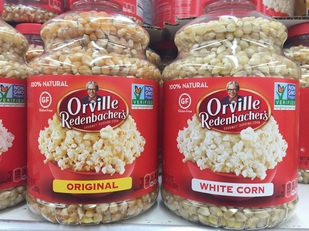
Next step: fresh popcorn. There is a bit of science to fresh popcorn: the reason it pops is that there is a tiny bit of moisture in every kernel. When that moisture is heated to boiling, the kernel explodes, creating a piece of popcorn. I spend about 50 cents extra to buy Orville Redenbacher popcorn in a plastic jar with a screw-on top. In case you're wondering, that's about $4 for a jar of popcorn that makes at least 20 servings of my favorite snack. No matter what you buy, it's important to store it tightly sealed, so the moisture inside each kernel doesn't evaporate.
Finally oil. Many of us have plastic containers of vegetable oil (Wesson or Canola) in our pantries. Grab that oil, open the top and sniff it. It should not smell of anything, but if it's older than a year, it probably does. Believe it or not, oil does go bad. If your oil has an "off" smell, throw it out and buy new; your food will taste a lot better. If you don't use much of the stuff, buy it in small containers.
If you have only olive oil on hand, go ahead and use it, but it's not ideal. Olive oil breaks down at high heat (it has a low "smoke point") and may scorch your pan and your popcorn. Since I cook on an electric stove, even the hottest burner doesn't usually get hot enough to do this, but if you have natural gas, watch out.
Now that you've assembled your ingredients, put the oil in the pan and turn it on high. After about a minute, pour in your popcorn, cover the pan and shake. Once it starts to pop, shake frequently until the popping stops (or until you hear less than one pop every 5 seconds). If you wait just until the popping has almost stopped, you should have only a handful of unpopped kernels and an unblemished pan: success! Salt and serve.
The first video below explains the recipe, and the second shows you how to tell when the corn is done popping.
Now for another homemade snack: hot chocolate. Like popcorn, the tools are few: a pyrex measuring cup, a small whisk, Hershey's cocoa powder, sugar and milk. With a bit of supervision, even a 6 year old can prepare this.
Start by adding 2 teaspoons of cocoa powder and 2 Tbs. of sugar to the measuring cup. Stir to combine.
Next add about a cup of milk. Put the unstirred mixture in your microwave and heat for 90 seconds. At this point, the mixture is going to look like a huge mistake, but it's not! Remove from microwave, whisk to combine and taste. If it's too sweet, add more milk and continue heating in 30 second increments. You can also add 1/2 tsp. vanilla.
When the mixture is heated to your satisfaction, whisk again and serve. If you feel like your whisk is not doing the job, try holding it between your palms and rubbing them back and forth to twirl the whisk. The more narrow the handle, the better this works - you can even whip cream this way!
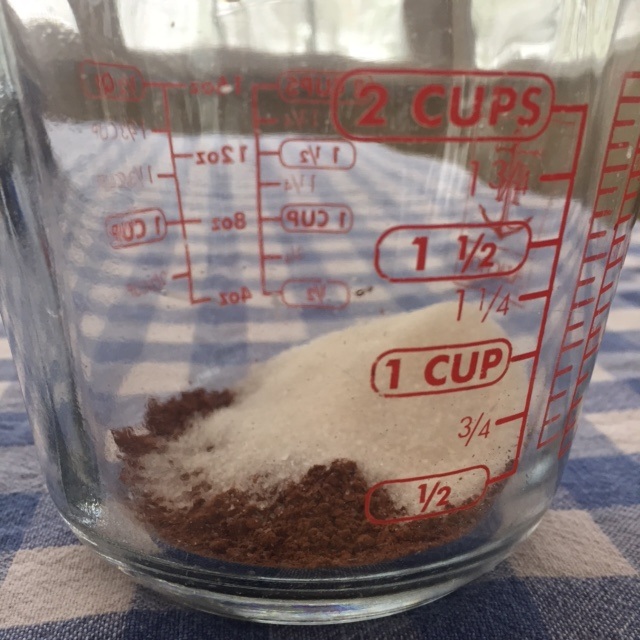
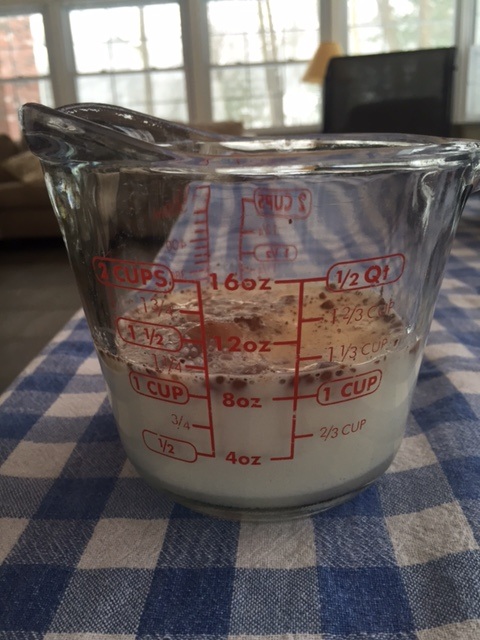
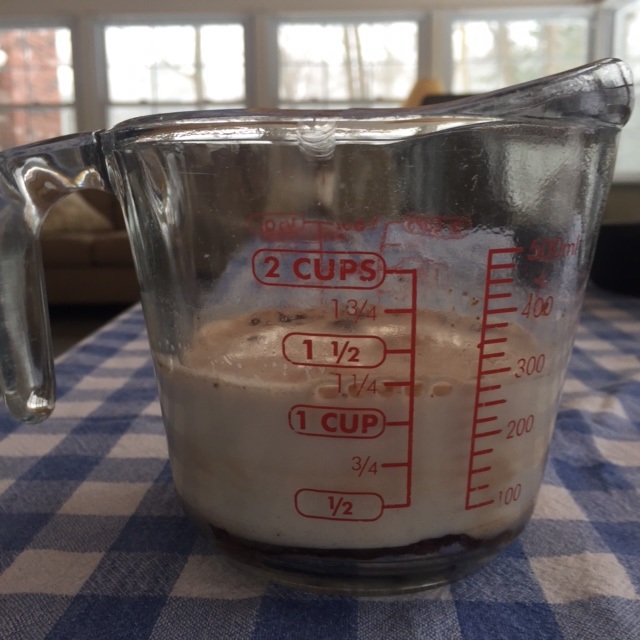
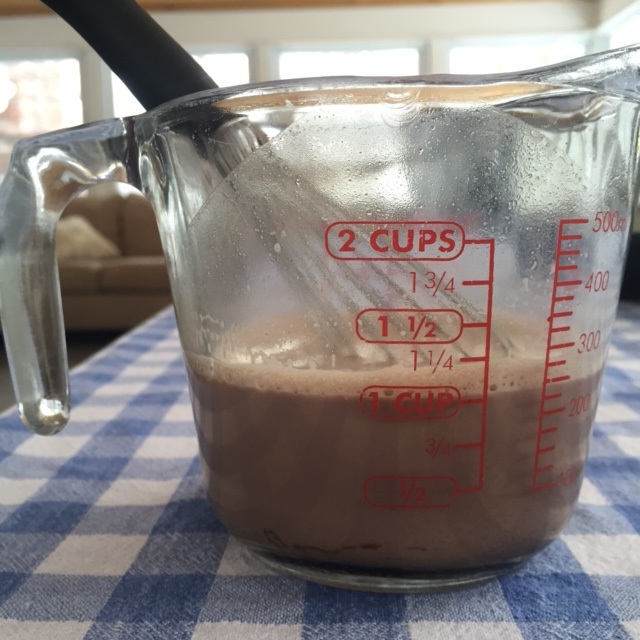
Photos of each step in making hot chocolate: sugar and cocoa; added milk; after microwaving and when whisked.
Both of these snacks take under 5 minutes to prepare, taste great (especially compared to their packaged cousins), have no chemicals and are tasty and REAL. Because after all, if you are going to eat "fun food", it should be as delicious as possible!
If you would like to see my recipes, tips and adventures in cooking every week go to www.ucancook.net and enter your email on the right side. Alternatively, email me at chrisd.williams@yahoo.com and I will set you up!

 RSS Feed