
"Mommy, this white meat's dry."
I was only about 12 years old, but I still remember the look on my mother's face when my 4 year old cousin blurted out those words during a lull in the Thanksgiving dinner conversation. Although I could tell that Mom was extremely unhappy, I knew that my preschool-aged cousin had stated an inconvenient truth: while not quite at the level of a Chevy Chase Christmas Family Vacation turkey, this was one dry bird, and there was not enough gravy in all of Milwaukee to hide that fact.
The first turkey I roasted on my own was for my husband and I. There was a promotion at the grocery: save $200 in receipts, and get a free turkey! Given that there were just two of us, it took a good long time to save those receipts and by the time we were ready to pick up our prize - just days before Thanksgiving - the only turkeys left were 25 pounds and up. At first we were excited by our bargain, but the enormity of the "deal" began to hit when we sat down to eat the roasted bird - just the two of us - and could barely see over the top. Let me say that the bird was not the most moist (probably due to my fears about cooking it completely) and we had a very long, dry winter.
At this time of year, nearly anyone who writes about food has all sorts of tips on how to ensure a moist juicy bird. It's really confusing, and you could find yourself practically making mandalas of turkey feathers on your kitchen floor if you followed them all. I have prayed many times to the moist turkey gods, and decided that I needed instead to hone in on a small number of things that actually matter and move on. So here is my list:
1. Buy a fresh (never frozen) bird.
2. Roast it breast side down for the first 30 minutes.
3. Cook it only until it's done.
4. Don't stuff it (sorry).
5. Let the bird rest for at least 15 minutes before eating.
Buying a fresh bird is easy; it says "never frozen" on the label. And here's another inconvenient truth: since some enormous percentage of turkeys are sold during the last two weeks in November, exactly when do you think the frozen turkeys actually got that way (here's a hint: do you think the turkey industry times their crop so that every turkey is ready to harvest in late October)? Another benefit: fresh turkeys often have far less injected water which not only bulks up frozen turkeys and increases their price but can add an off-putting, chemical taste. I've seen frozen birds that have up to 12% "added juices" - i.e. water, salt and preservatives. Fresh birds, which commonly have 3% or less added juices, can be purchased starting the weekend before Thanksgiving.
Roasting breast side down to start is a little more trouble, but so worth it. Breast meat has much less fat and because it's on top of the bird as it roasts, the juice that it does have drips down onto the thighs. By starting the bird upside down, you reverse this process and by flipping it after 30 minutes, you allow the top of the bird to become brown and crispy, just as if you had cooked it "right side up" the whole time.
This recommendation leads to two questions; first, how am I supposed to know which side is up AND how the heck am I supposed to flip a slippery 450 degree turkey???
The easiest way to tell which side is up is that the tail (a small, hard, diamond-shaped protrusion near the large cavity) is on the bottom. Also, if the bird is right side up, the large cavity would be also to hold stuffing without the stuffing falling out. Thus, if you put the turkey in the roasting pan "upside down" (to start the cooking process), the tail will be on the top and the opening of the large cavity will be less visible. See the pictures and video in the recipe below for more detail.
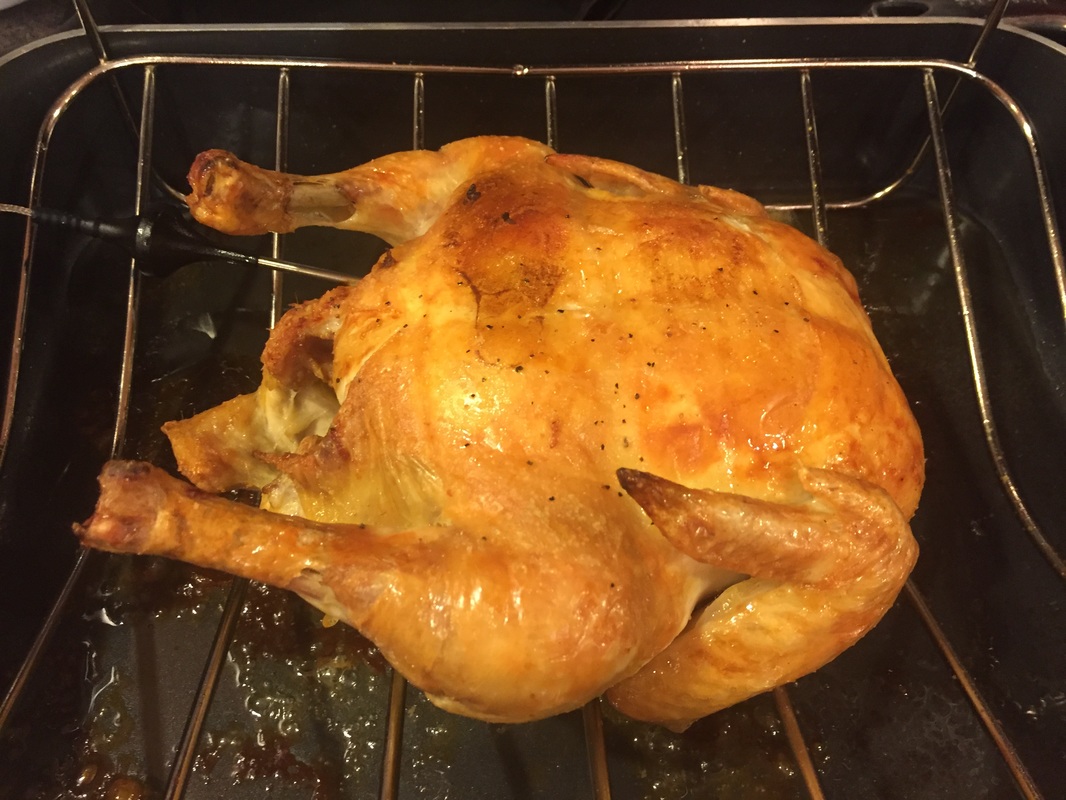
Flipping a turkey is a bit tougher. For some, the way to go is to make two giant wads of paper towels and use that to grip and flip the slippery bird. Being a bit of a green-freak, I can't bear to waste paper towels this way, so I usually use two clean dishtowels; I also enlist my husband to help me. With two sturdy spatulas and two absorbent cloth towels we can turn the bird over safely and pop it back in the oven. See the video in the recipe below for more detail; unfortunately, our family of three cannot eat two turkeys in two weeks, so I made my video with a chicken (sorry!).
Cooking it until it's done is simple: use a meat thermometer and cook ONLY until the thermometer (pierced into the thickest part of the turkey thigh) reads 165 degrees. See the recipe video for the thermometer placement, and read my post on dry chicken here for more information about thermometers and why they matter. The little plastic thermometers that come in many birds are useless, and I usually remove them before cooking.
I'm sorry to say that while stuffing the bird leads to GREAT tasting stuffing, it leads to not-so-great tasting turkey. The reason is that a stuffed bird takes longer to cook, leaving the outside (especially the breast) meat dry. Stuffing baked in a covered dish, especially made with a bit of turkey or chicken broth, is a tasty alternative that - bonus! - is a lot less hassle than un-stuffing a turkey cavity just as you are trying to serve the entire meal.
Finally, please do let the bird rest; after all, he's had a tough day. Take the turkey out of the oven and put a little sheet of foil on top to keep it cozy (this is often called "tenting") for at least 15 minutes. Believe it or not, scientists have tested this (scientifically!) and found that while the bird is resting, it's lovely juices are being re-absorbed into the cells of the meat, making that turkey all the more delicious when you finally do make the first cut.
I was only about 12 years old, but I still remember the look on my mother's face when my 4 year old cousin blurted out those words during a lull in the Thanksgiving dinner conversation. Although I could tell that Mom was extremely unhappy, I knew that my preschool-aged cousin had stated an inconvenient truth: while not quite at the level of a Chevy Chase Christmas Family Vacation turkey, this was one dry bird, and there was not enough gravy in all of Milwaukee to hide that fact.
The first turkey I roasted on my own was for my husband and I. There was a promotion at the grocery: save $200 in receipts, and get a free turkey! Given that there were just two of us, it took a good long time to save those receipts and by the time we were ready to pick up our prize - just days before Thanksgiving - the only turkeys left were 25 pounds and up. At first we were excited by our bargain, but the enormity of the "deal" began to hit when we sat down to eat the roasted bird - just the two of us - and could barely see over the top. Let me say that the bird was not the most moist (probably due to my fears about cooking it completely) and we had a very long, dry winter.
At this time of year, nearly anyone who writes about food has all sorts of tips on how to ensure a moist juicy bird. It's really confusing, and you could find yourself practically making mandalas of turkey feathers on your kitchen floor if you followed them all. I have prayed many times to the moist turkey gods, and decided that I needed instead to hone in on a small number of things that actually matter and move on. So here is my list:
1. Buy a fresh (never frozen) bird.
2. Roast it breast side down for the first 30 minutes.
3. Cook it only until it's done.
4. Don't stuff it (sorry).
5. Let the bird rest for at least 15 minutes before eating.
Buying a fresh bird is easy; it says "never frozen" on the label. And here's another inconvenient truth: since some enormous percentage of turkeys are sold during the last two weeks in November, exactly when do you think the frozen turkeys actually got that way (here's a hint: do you think the turkey industry times their crop so that every turkey is ready to harvest in late October)? Another benefit: fresh turkeys often have far less injected water which not only bulks up frozen turkeys and increases their price but can add an off-putting, chemical taste. I've seen frozen birds that have up to 12% "added juices" - i.e. water, salt and preservatives. Fresh birds, which commonly have 3% or less added juices, can be purchased starting the weekend before Thanksgiving.
Roasting breast side down to start is a little more trouble, but so worth it. Breast meat has much less fat and because it's on top of the bird as it roasts, the juice that it does have drips down onto the thighs. By starting the bird upside down, you reverse this process and by flipping it after 30 minutes, you allow the top of the bird to become brown and crispy, just as if you had cooked it "right side up" the whole time.
This recommendation leads to two questions; first, how am I supposed to know which side is up AND how the heck am I supposed to flip a slippery 450 degree turkey???
The easiest way to tell which side is up is that the tail (a small, hard, diamond-shaped protrusion near the large cavity) is on the bottom. Also, if the bird is right side up, the large cavity would be also to hold stuffing without the stuffing falling out. Thus, if you put the turkey in the roasting pan "upside down" (to start the cooking process), the tail will be on the top and the opening of the large cavity will be less visible. See the pictures and video in the recipe below for more detail.
Flipping a turkey is a bit tougher. For some, the way to go is to make two giant wads of paper towels and use that to grip and flip the slippery bird. Being a bit of a green-freak, I can't bear to waste paper towels this way, so I usually use two clean dishtowels; I also enlist my husband to help me. With two sturdy spatulas and two absorbent cloth towels we can turn the bird over safely and pop it back in the oven. See the video in the recipe below for more detail; unfortunately, our family of three cannot eat two turkeys in two weeks, so I made my video with a chicken (sorry!).
Cooking it until it's done is simple: use a meat thermometer and cook ONLY until the thermometer (pierced into the thickest part of the turkey thigh) reads 165 degrees. See the recipe video for the thermometer placement, and read my post on dry chicken here for more information about thermometers and why they matter. The little plastic thermometers that come in many birds are useless, and I usually remove them before cooking.
I'm sorry to say that while stuffing the bird leads to GREAT tasting stuffing, it leads to not-so-great tasting turkey. The reason is that a stuffed bird takes longer to cook, leaving the outside (especially the breast) meat dry. Stuffing baked in a covered dish, especially made with a bit of turkey or chicken broth, is a tasty alternative that - bonus! - is a lot less hassle than un-stuffing a turkey cavity just as you are trying to serve the entire meal.
Finally, please do let the bird rest; after all, he's had a tough day. Take the turkey out of the oven and put a little sheet of foil on top to keep it cozy (this is often called "tenting") for at least 15 minutes. Believe it or not, scientists have tested this (scientifically!) and found that while the bird is resting, it's lovely juices are being re-absorbed into the cells of the meat, making that turkey all the more delicious when you finally do make the first cut.


For an actual recipe with instructions for cooking a turkey, click here.
Years ago, I worked with a strict vegetarian who became a great friend. I once asked her what she ate for Thanksgiving, and she said that with all the sides, Thanksgiving is the best holiday ever for vegetarians! So if worst comes to worst and you accidentally cook a turkey so dry it could be an extra in the next Christmas Family Vacation movie, open more wine, make sure your cat is safely away from your decor, check that no one is smoking stogies near an open sewer and pass the sides. I'm quite confident they will be delicious!
Years ago, I worked with a strict vegetarian who became a great friend. I once asked her what she ate for Thanksgiving, and she said that with all the sides, Thanksgiving is the best holiday ever for vegetarians! So if worst comes to worst and you accidentally cook a turkey so dry it could be an extra in the next Christmas Family Vacation movie, open more wine, make sure your cat is safely away from your decor, check that no one is smoking stogies near an open sewer and pass the sides. I'm quite confident they will be delicious!

 RSS Feed